Ubuntu is one of the most popular Linux operating systems around and one of the easiest and best supported with hardware.
Today I will be showing you how to install Ubuntu 14.04 server LTS (long-term support) in VirtualBox. You can use these instructions install it on an old PC the there is not much difference.
We start off by downloading VirtualBox https://www.virtualbox.org/wiki/Downloads
Follow the on-screen instructions when install.
(note: this is not a tutorial on installing VirtualBox if people are having difficulty I will post a tutorial on how to install VirtualBox)
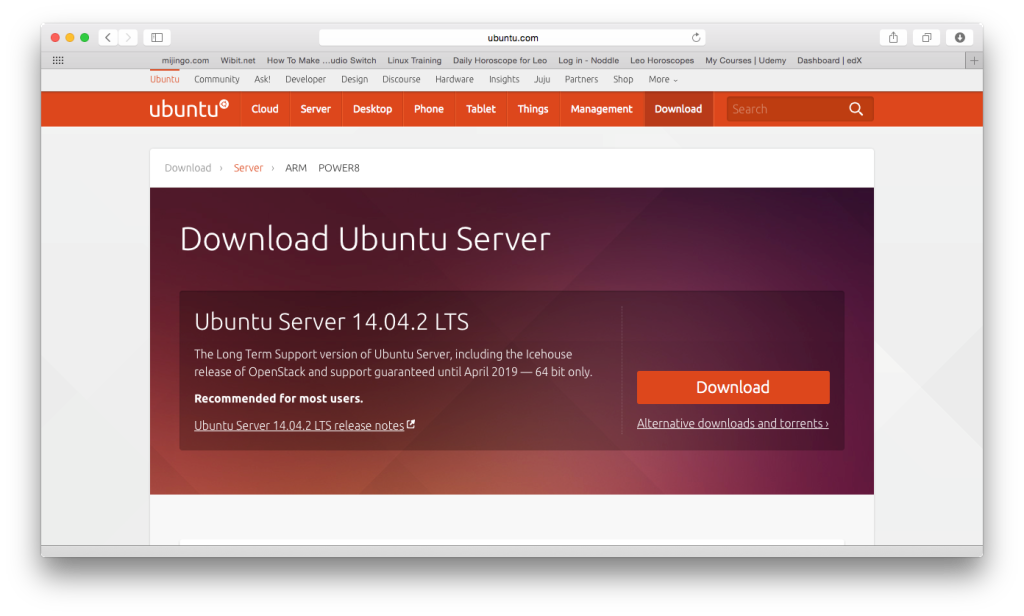
Next we download Ubuntu from their website http://www.ubuntu.com/download/server
Once Ubuntu as downloaded we can start create the Virtual Machine file that VirtualBox uses.
(ignore this step and burn the .iso file to a disc or install it on a USB. If you are installing it on a PC )
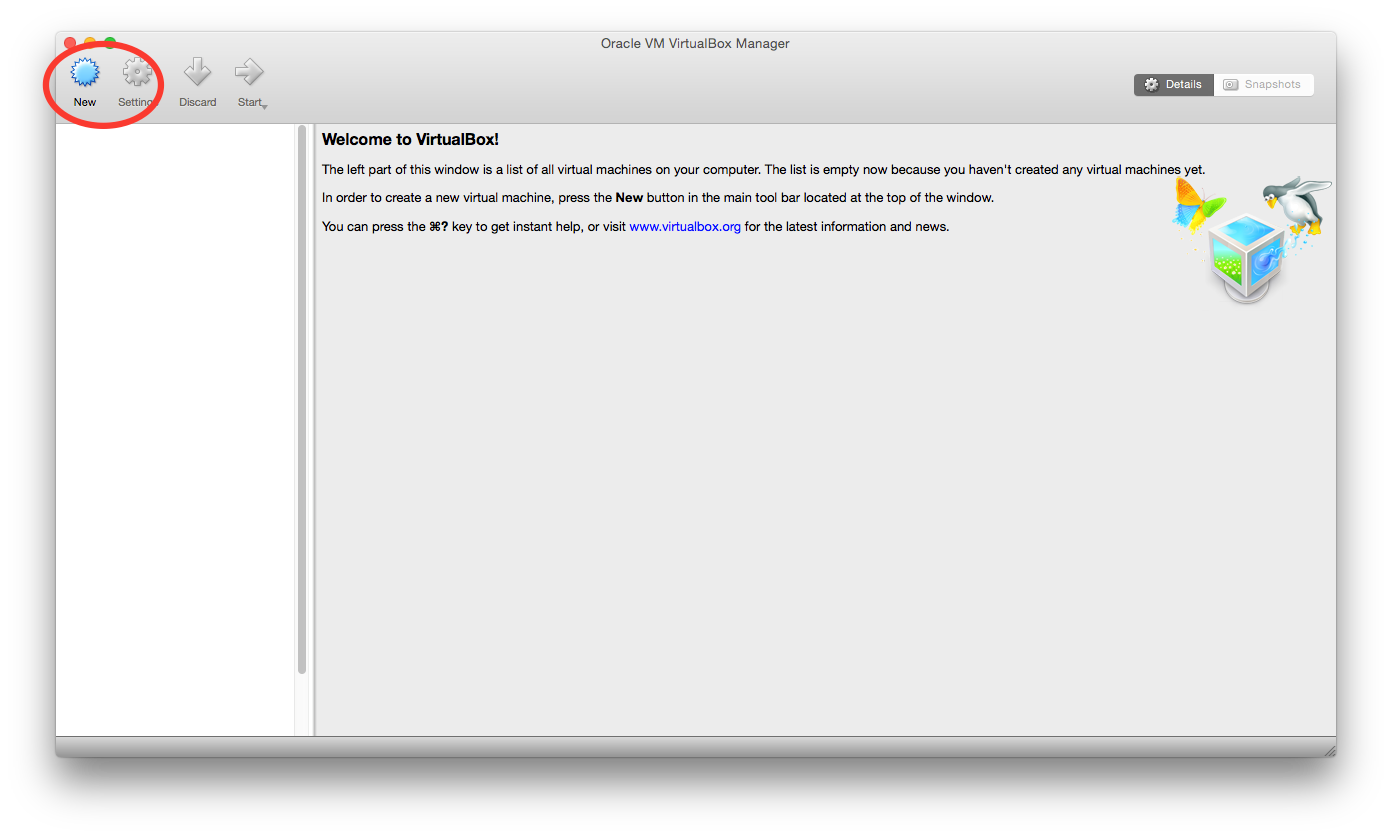
open up VirtualBox and click new
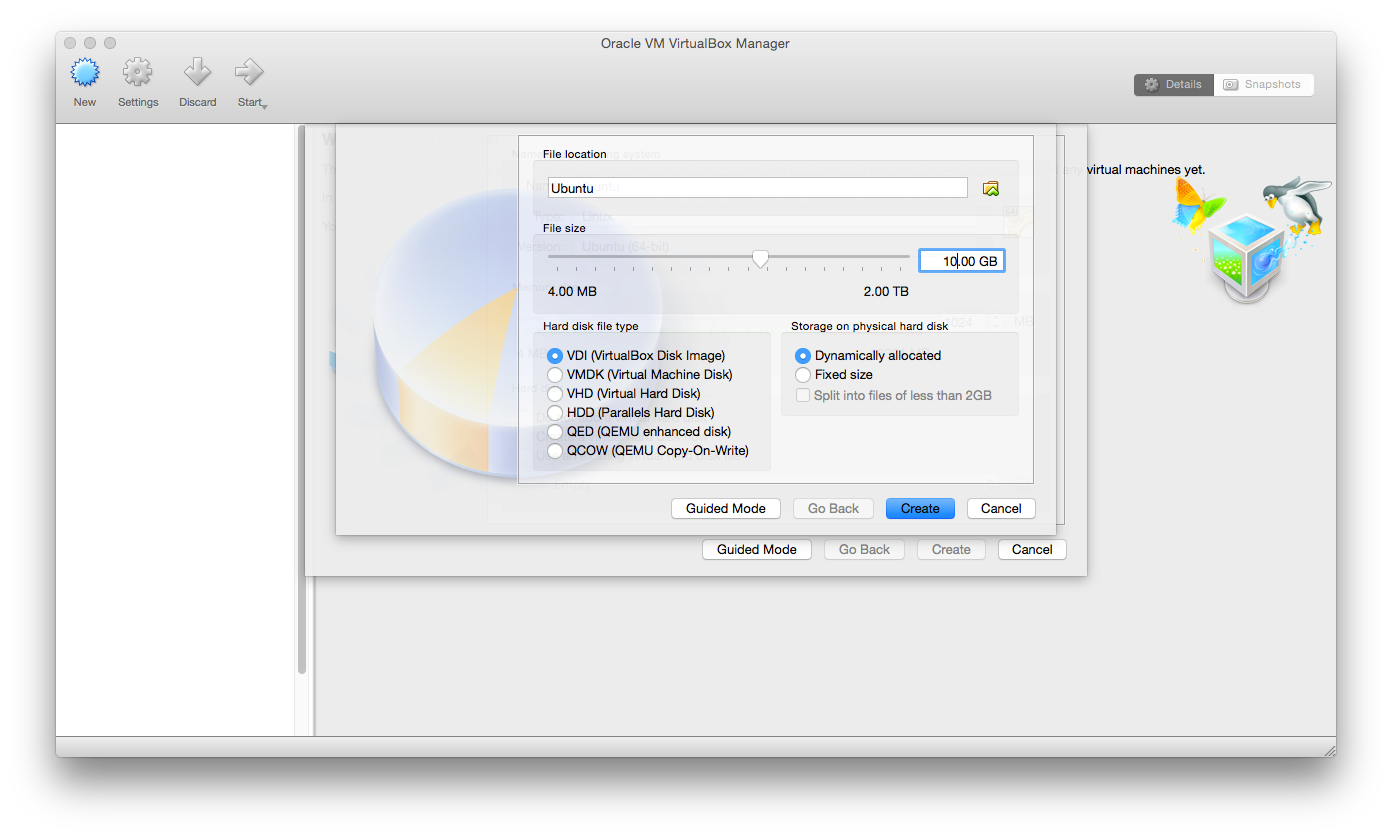
Change the name and how much hard drive space you want for the Virtual Machine.
These are my settings to for example.
As you see in the top left, you will have a new entry that says Ubuntu (or what you called it in the previous step)
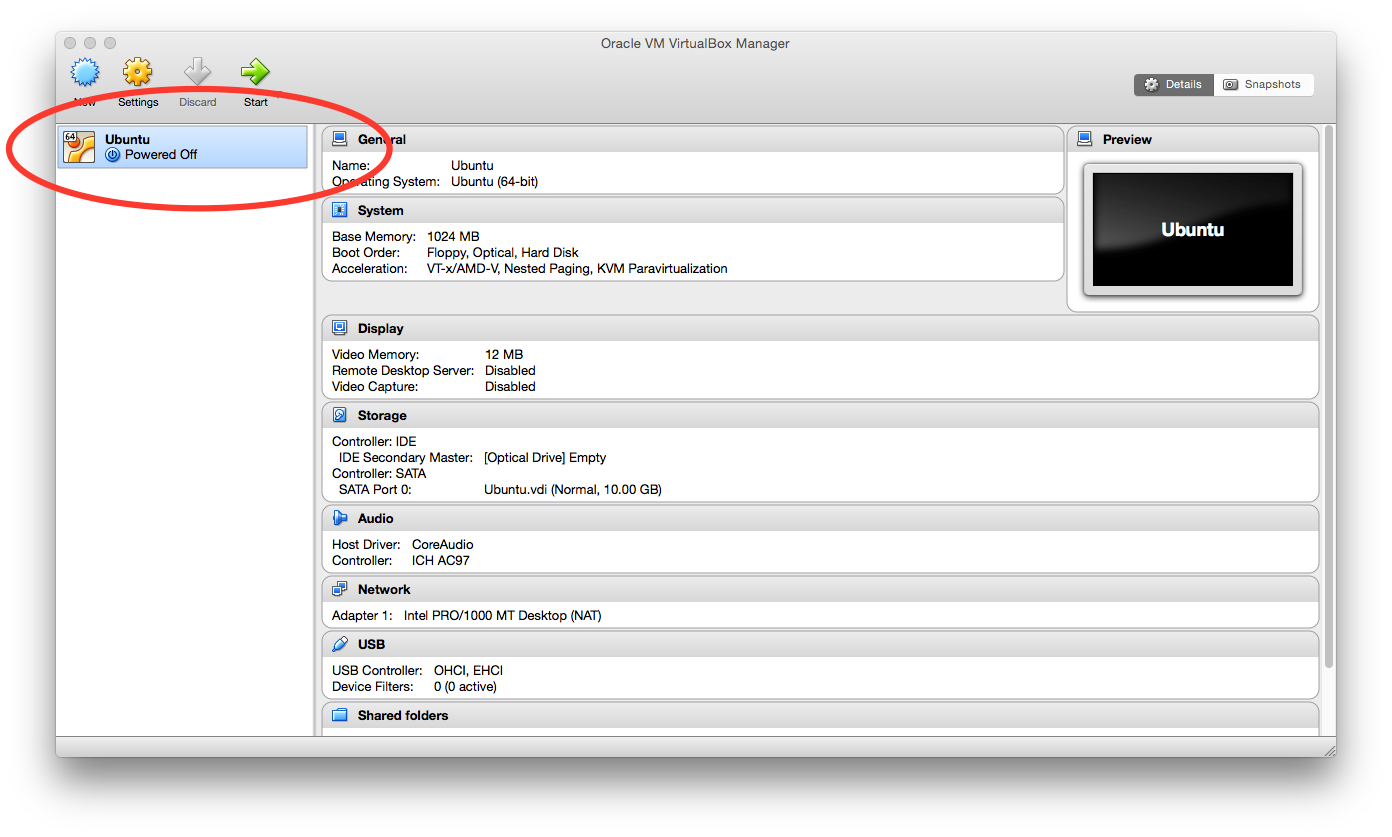
Next you will need to change some settings so it will boot the file we downloaded earlier.
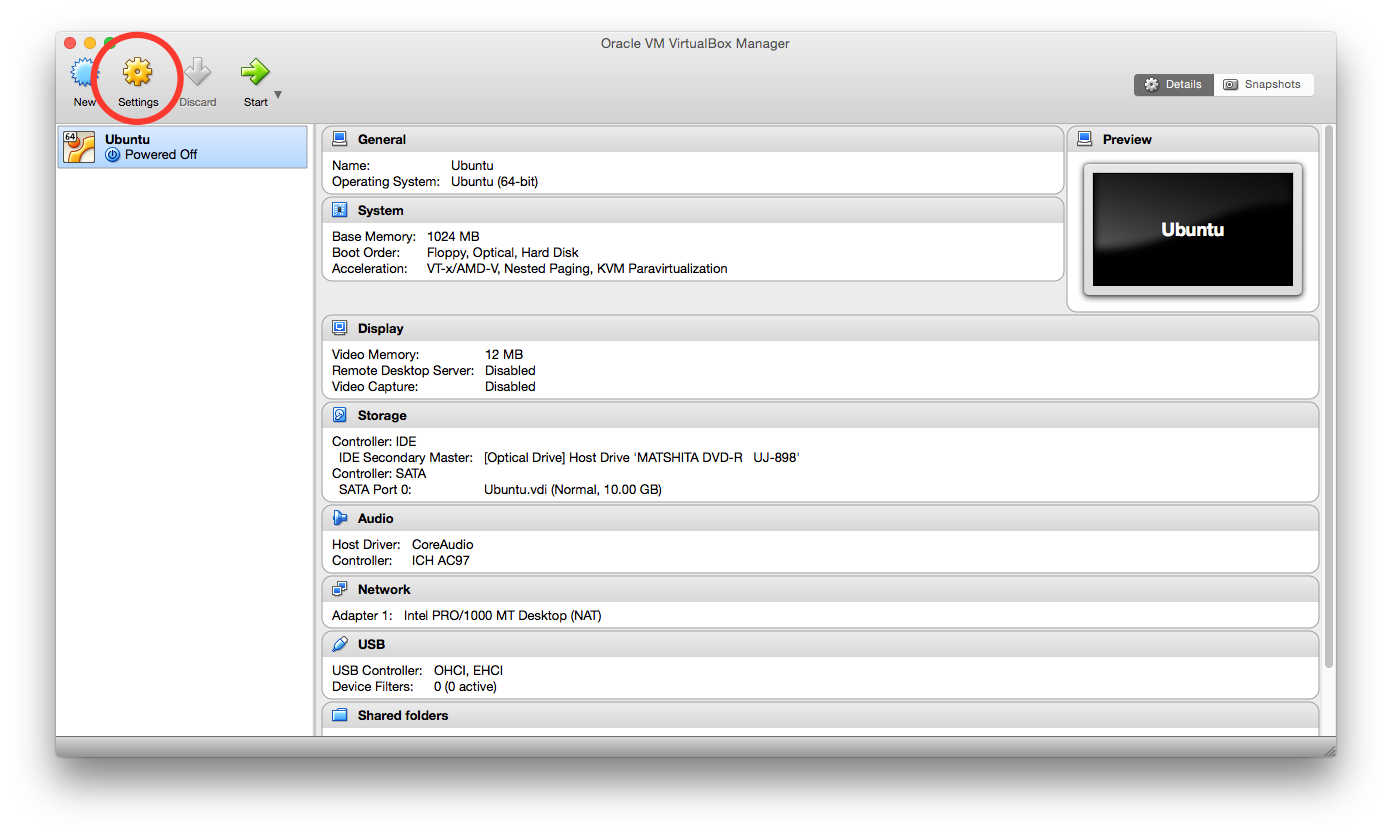
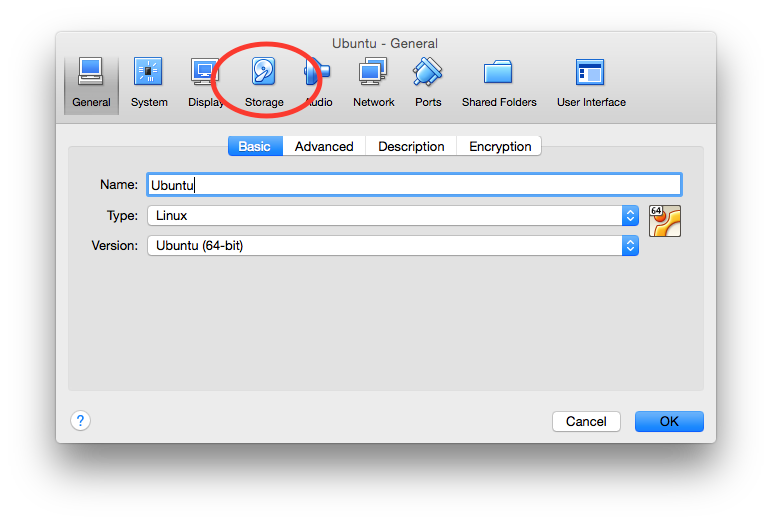
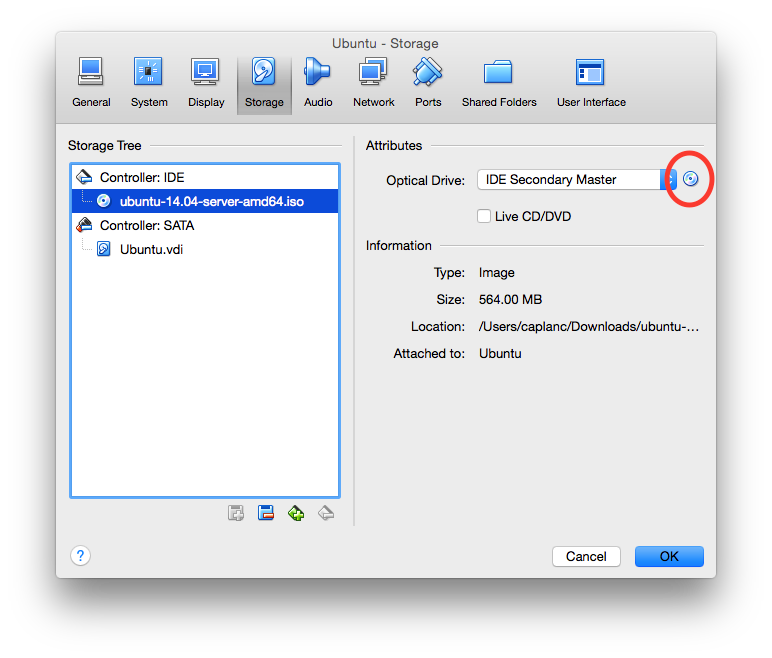
Now you need to go to storage
 Select the cd drive.
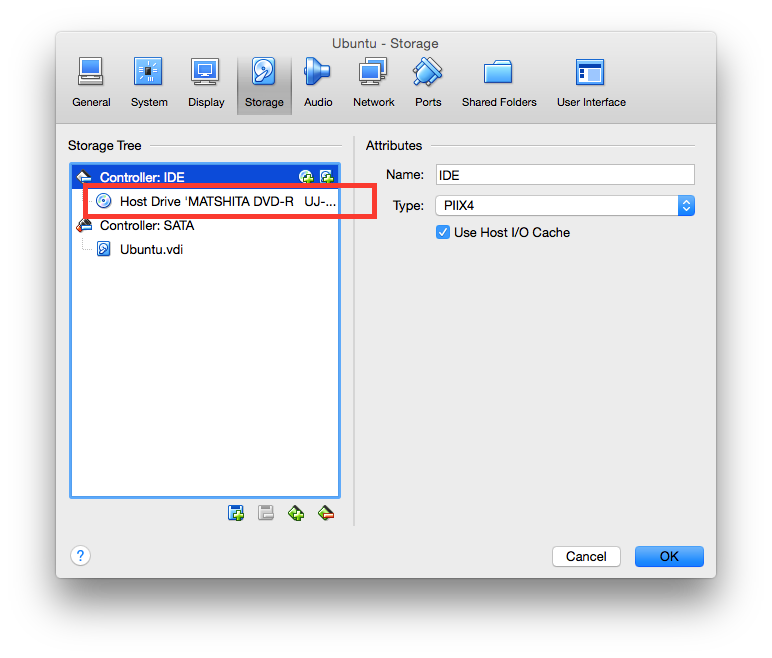
Select the little disc on the right.
Navigate to where you save the Ubuntu.iso file we downloaded.
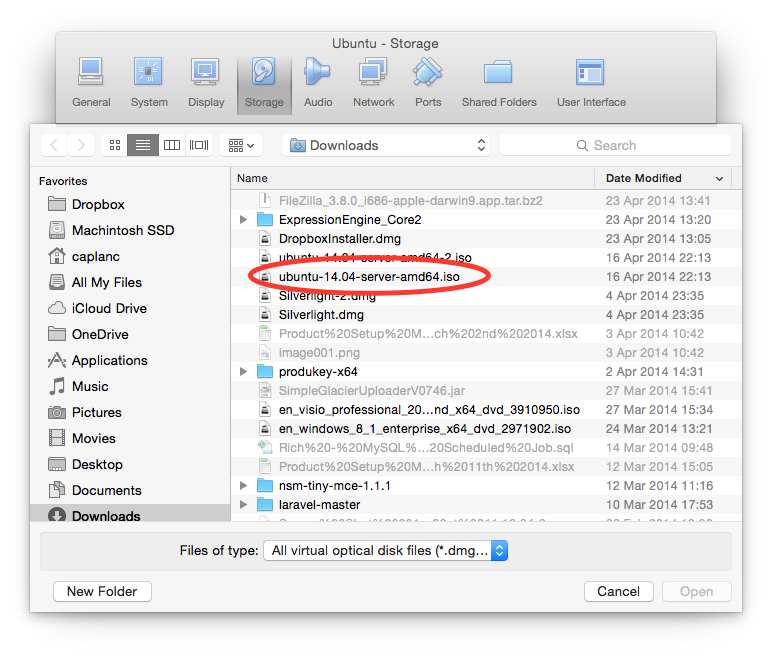
Once you have selected the .iso file we can install Ubuntu!
We now need to start the virtual machine.
Once we start the virtual machine we need to run through the wizard.
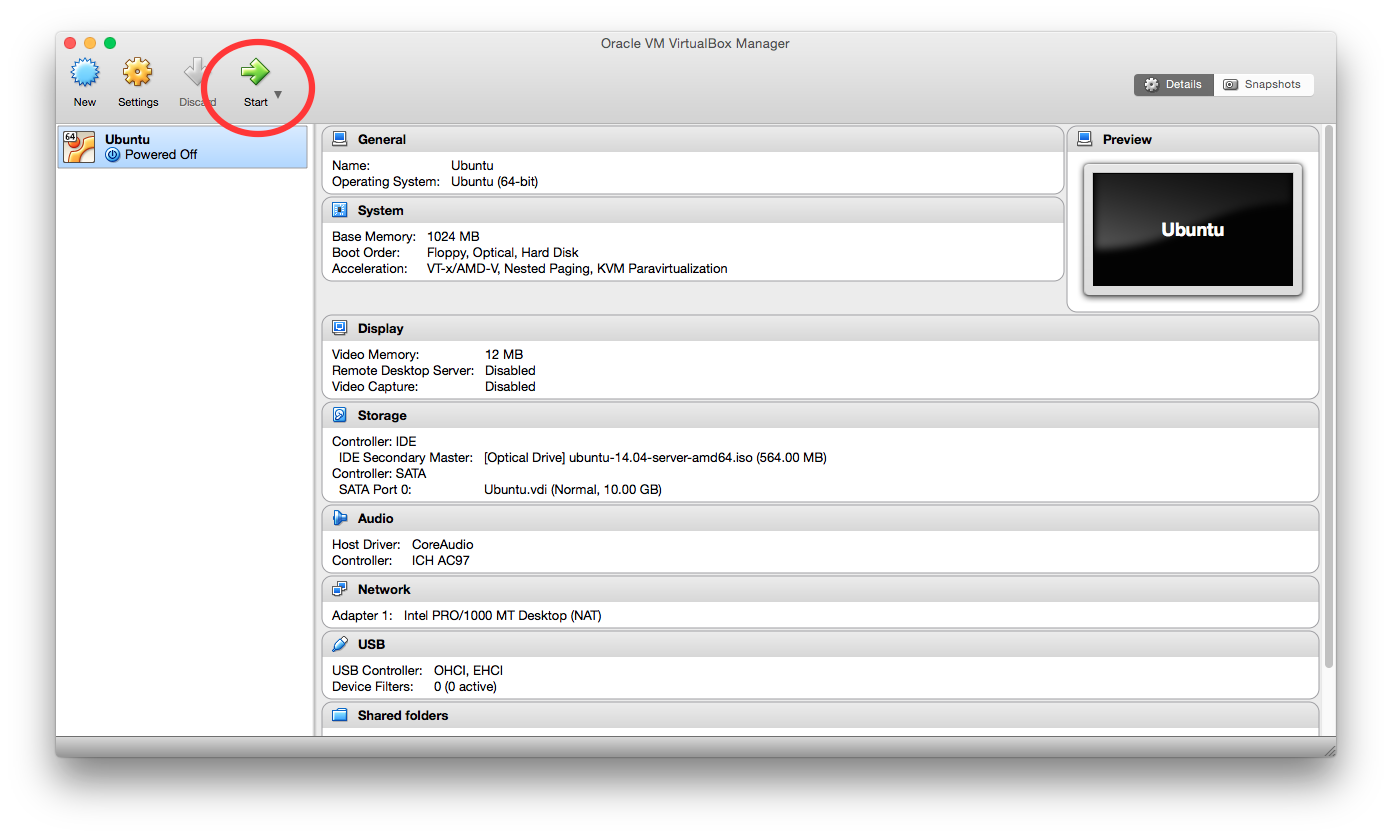
The steps are as follows.
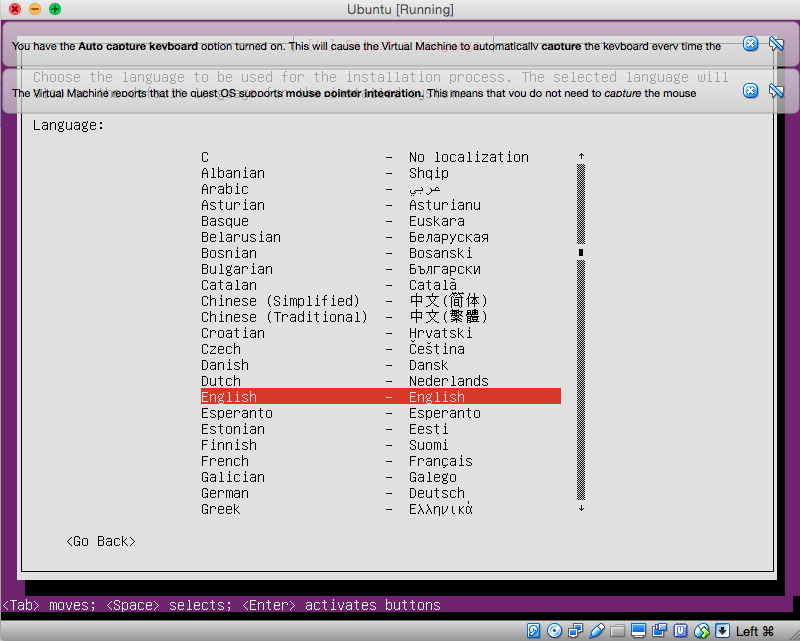
Choose the language which the installer will view in.
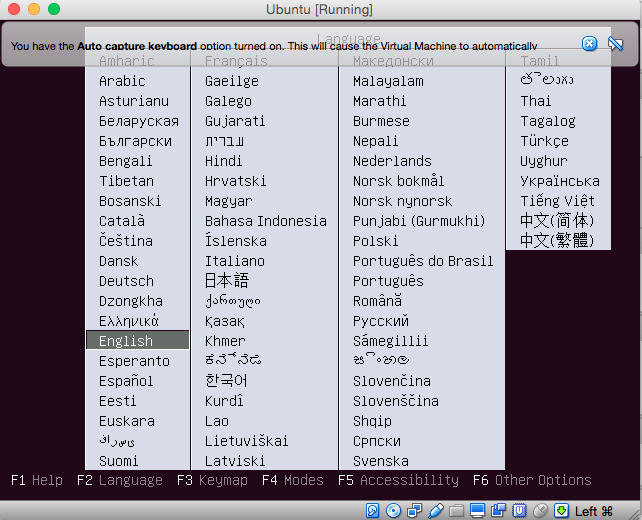
select install Ubuntu Server.
{image needed}
Select the language the installer will install Ubuntu as.
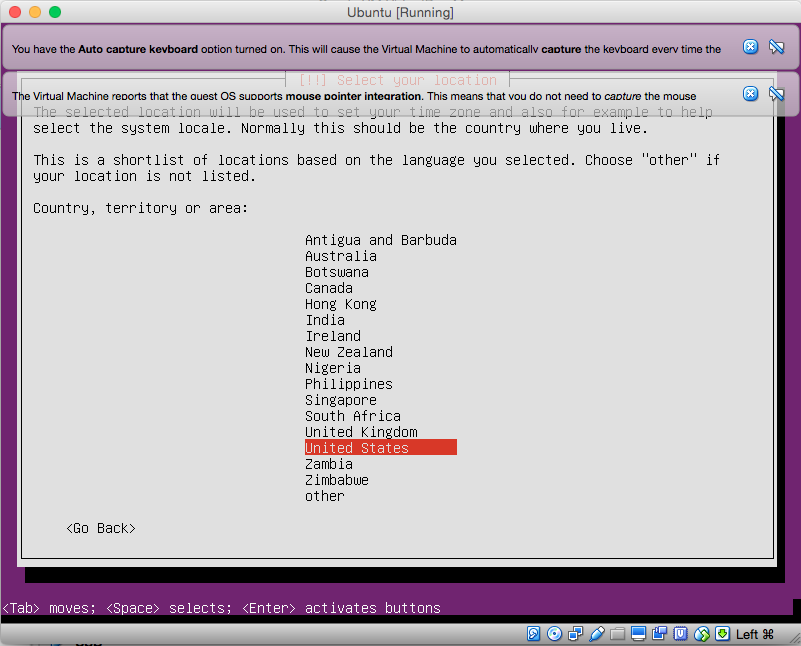
Select the country you are in.
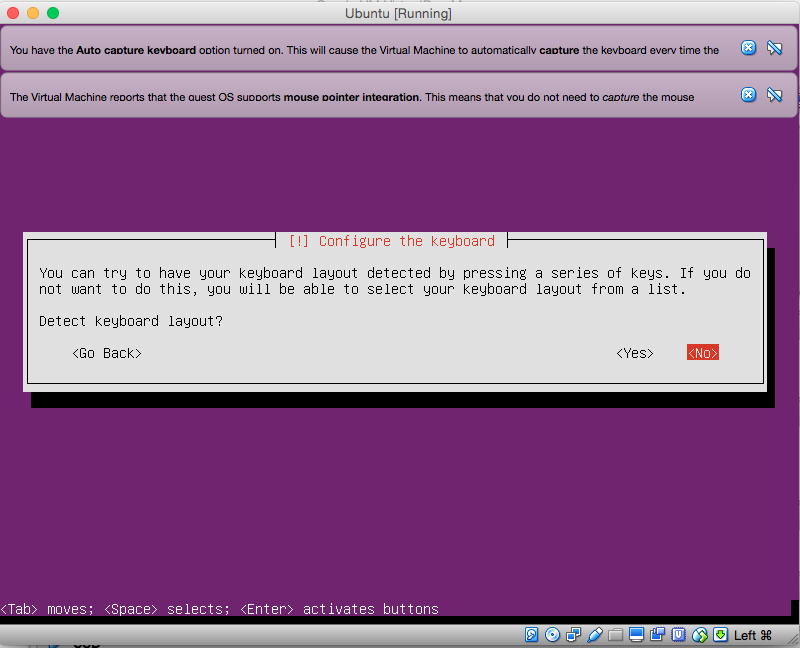
I normally say no to this but I'm not stopping you from saying yes.
If you select yes it will ask you to enter some random keys and will detect what keyboard you have.
If you selected no you get this screen.
Select what keyboard you have.

Now the installer will start preparing everything to install.
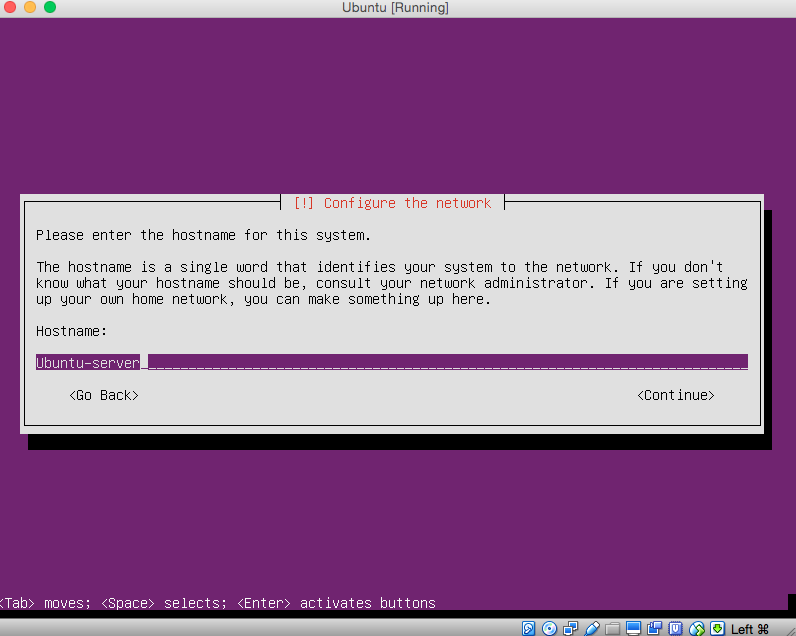
Next it will ask what to call you server, I just called it something generic, but this could be file-server etc.
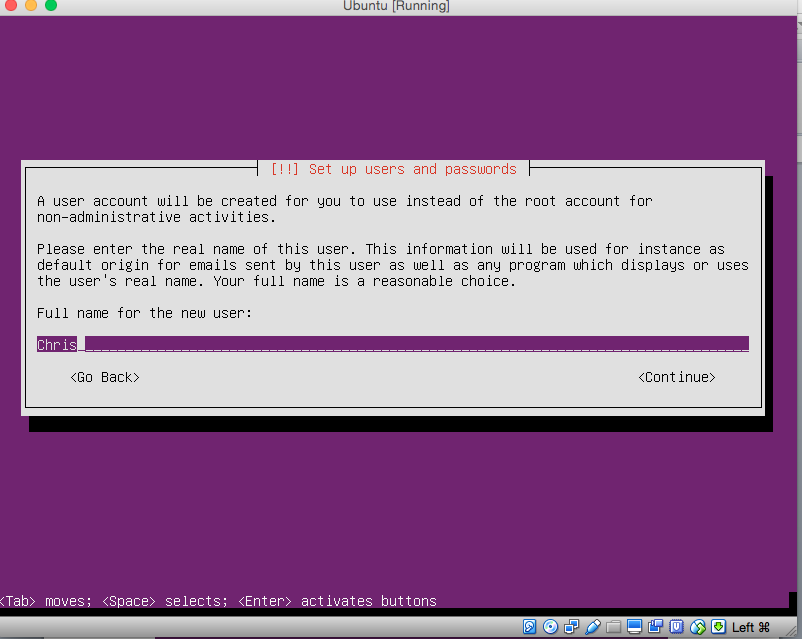
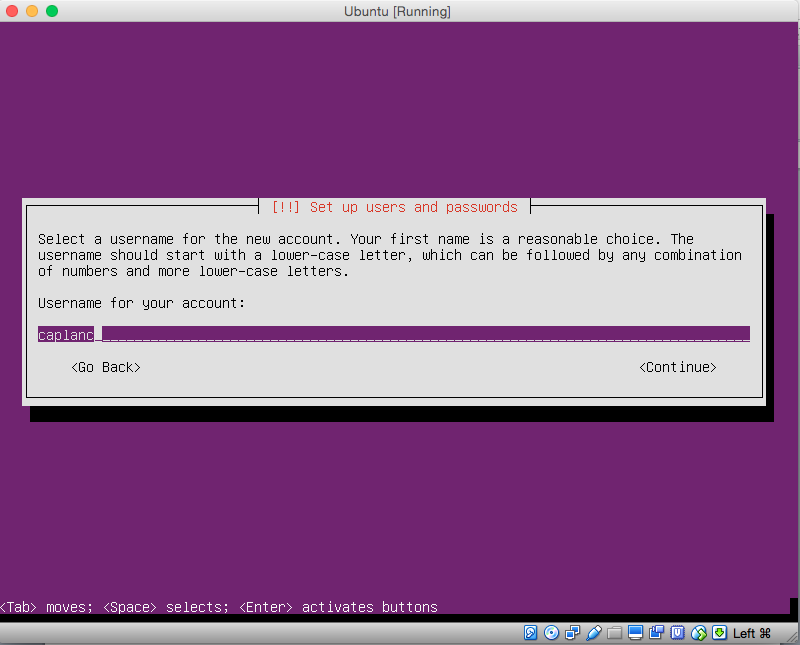
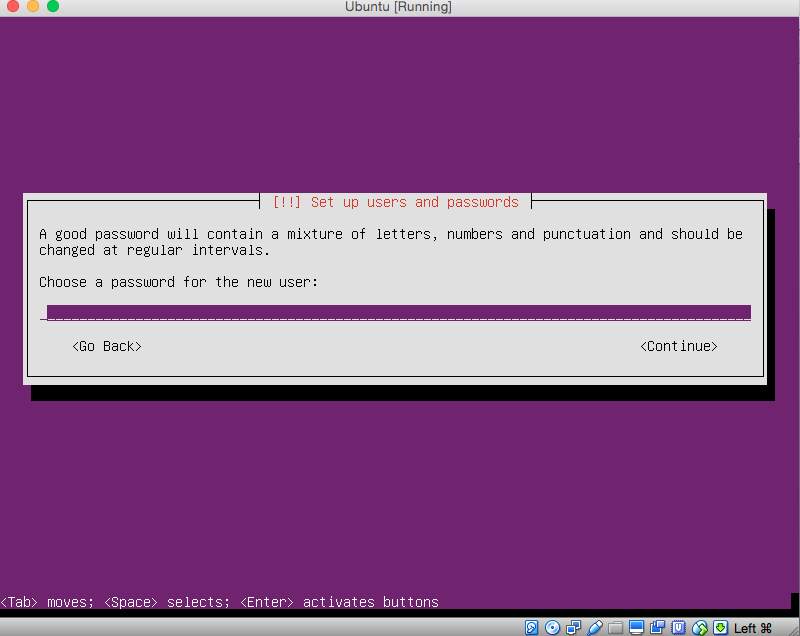
Now it will ask some details about the user.
It will ask you to retype your password.
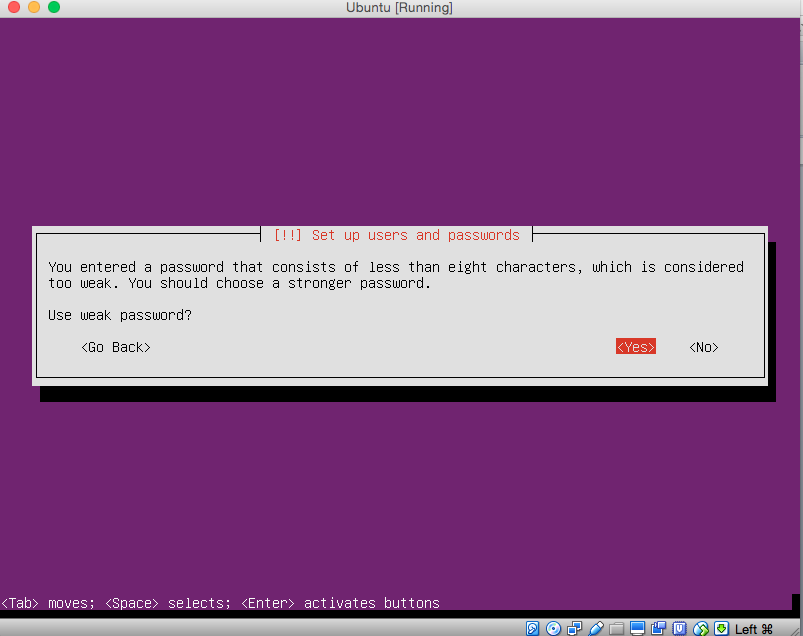
If you password is weak you may get this screen.
Just say yes to it if you want to keep your password as it is, or no to change the password to a stronger one.
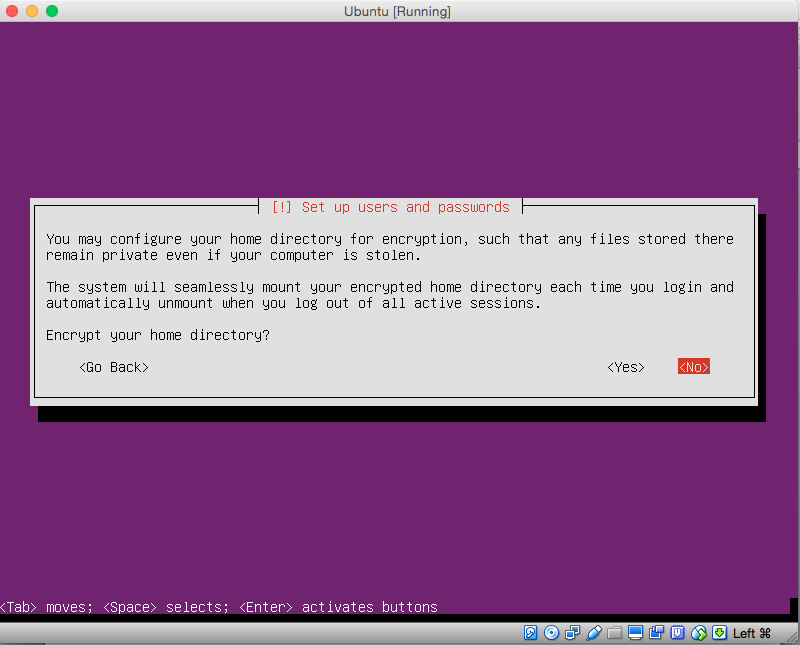
It will ask you if you want to encrypt your home directory, I normally say no to this, as this is not normally needed.
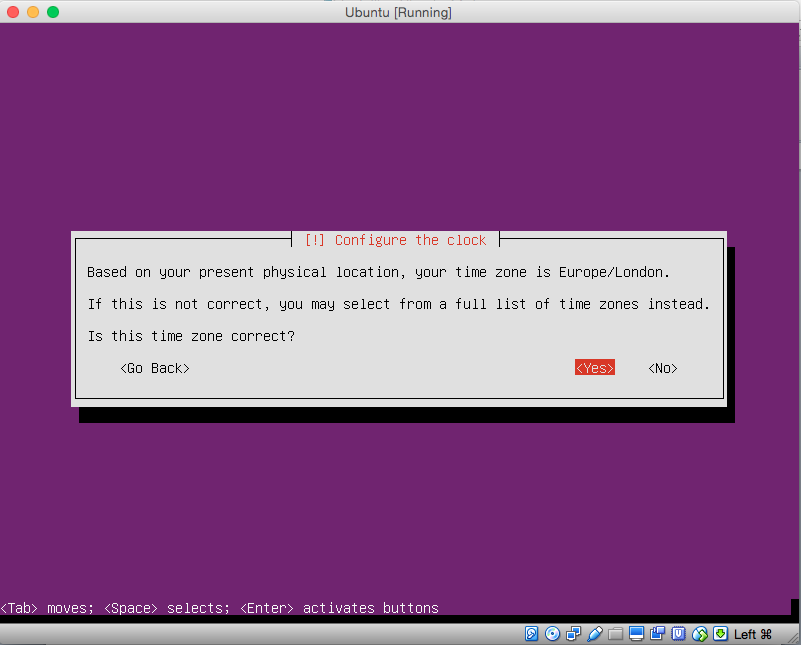
Going into clock config now, if all goes well it should automatically, we already filled in the country details.
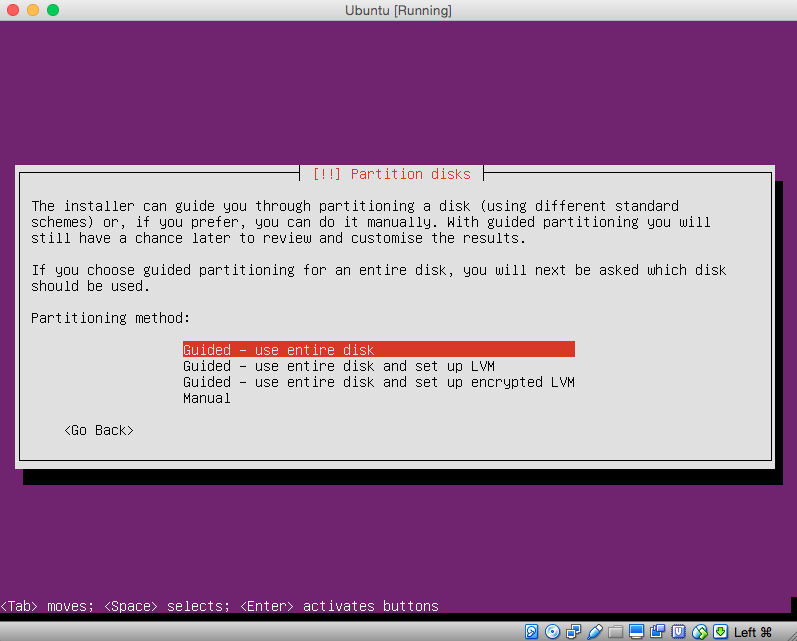
Now its going to ask about formatting(deleting) everything from the hard drive.
I’ll go with “guided use entire disk”
We will get into LVM in another tutorial.
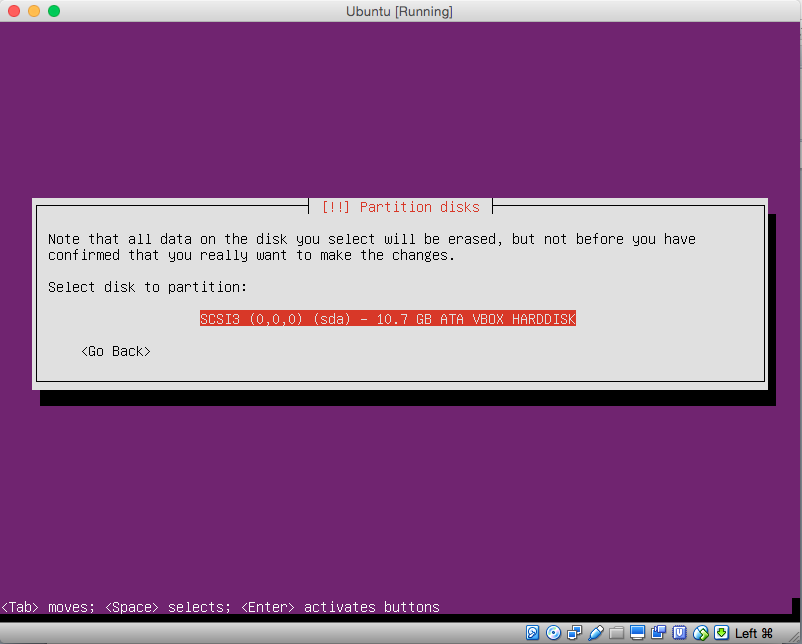
It will ask which disk to format.
You should only have one disk, if you have more than one make sure that you do not have any other disks attached as you may format the wrong disk and it isn’t nice trust me!
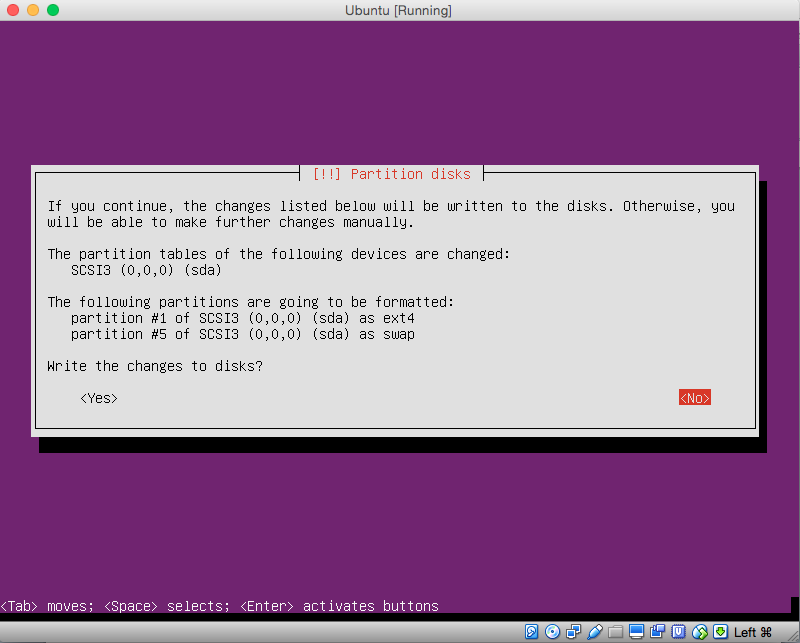
It just going let you review the that you formatting the correct disk.
Double check and if correct select yes.
Ubuntu is now installing.
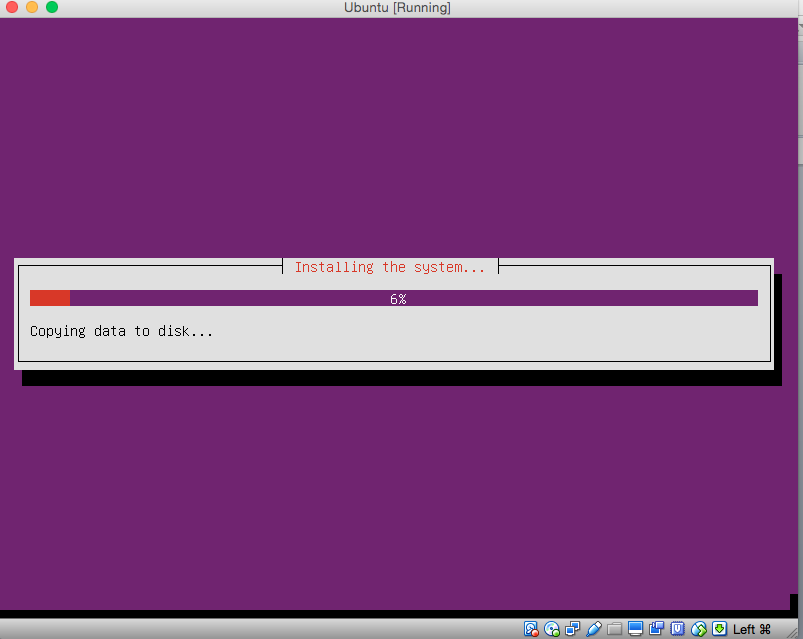
Wait 10 – 15 minutes and Ubuntu should be installed.
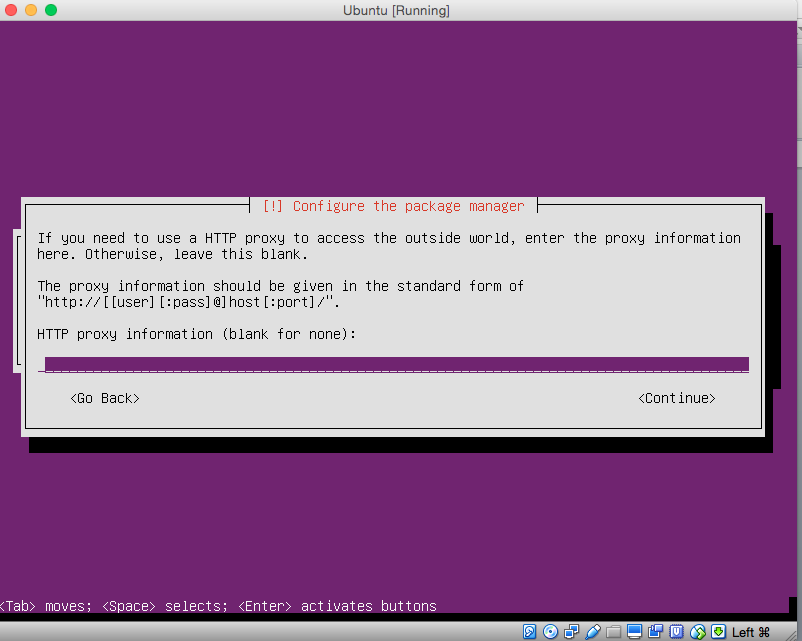
Once it has finished it will ask if you are using a proxy server, if you don’t know just say continue.
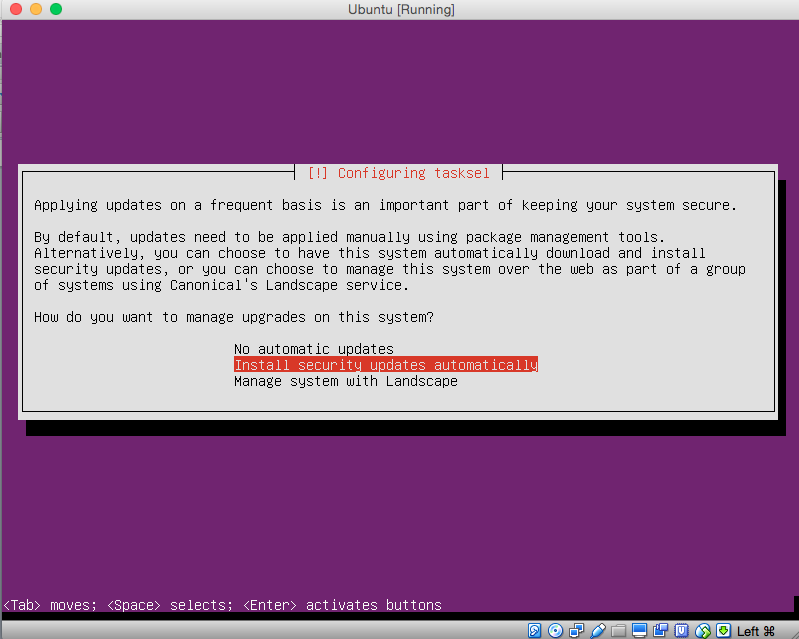
When Ubuntu has just finished installing it will ask you if you want automatic security updates, for a production system this is recommended.
Ubuntu is just setting up some extra software now.
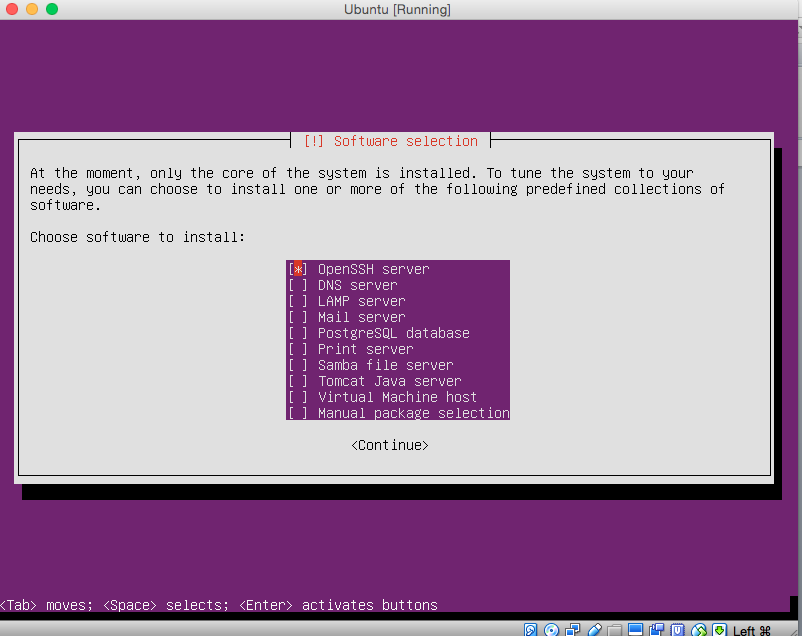
It will ask what kind of server you would like.
We will want OpenSSH server as this will allow control the server remotely.
Note: to select an option hit the space bar not enter as it will go onto the next screen!
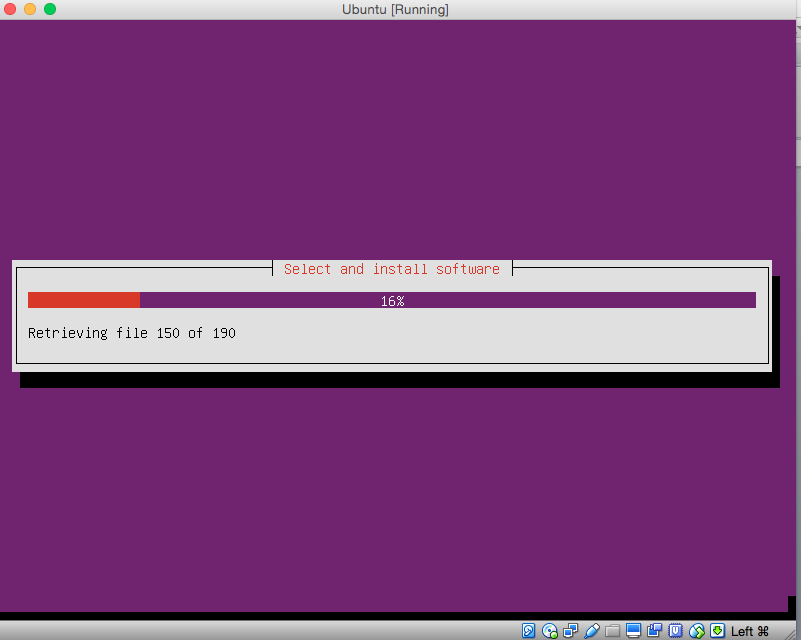
More loading bars.
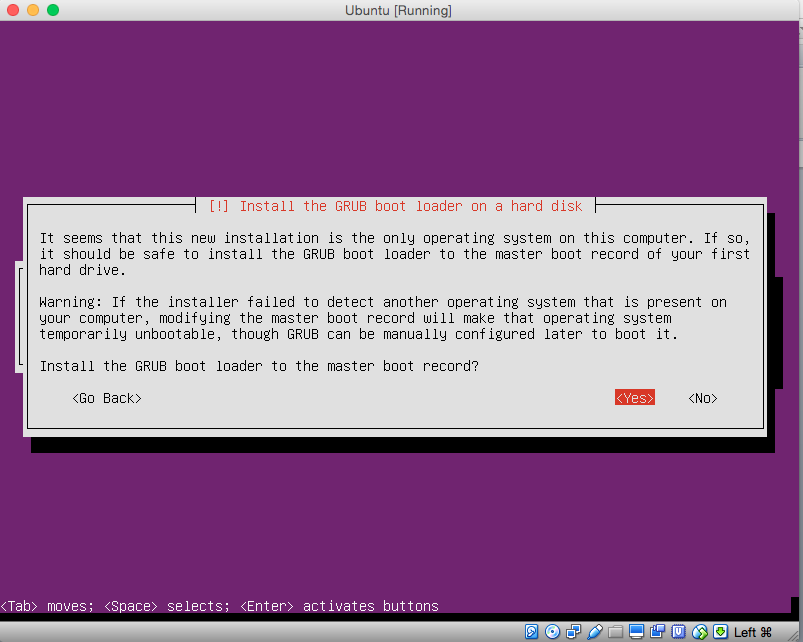
It will ask you to install grub boot loader if you don’t know what this is, select yes.
Yay its completed.
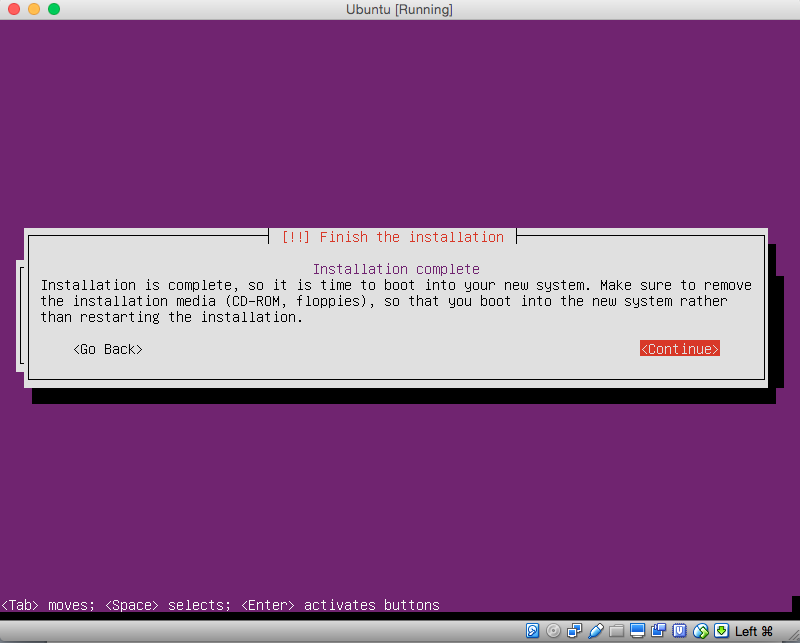
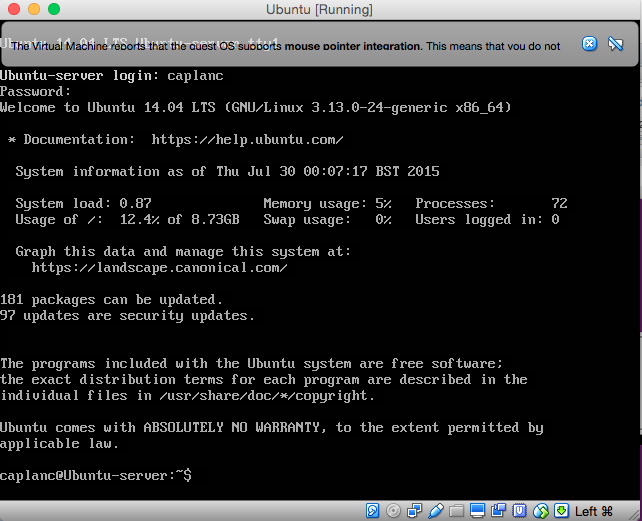
Select continue and it will restart and you will have Ubuntu Server installed.
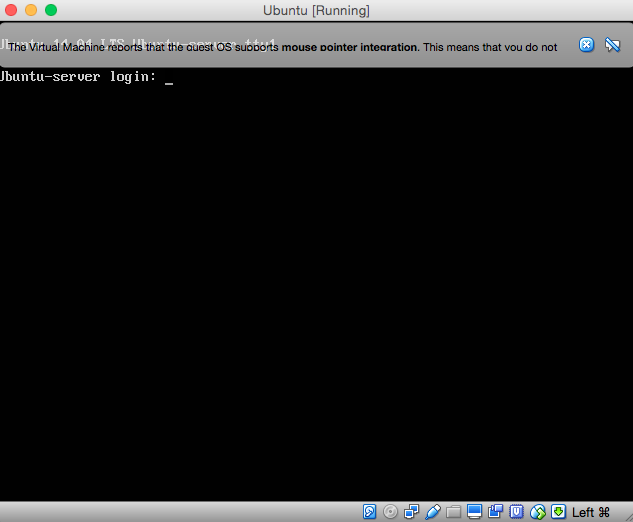
Once its rebooted enter your username and password and you have Ubuntu server at your disposal!